How to Change Golf Club Grips
Changing the grips on your golf clubs is essential for maintaining optimal performance and comfort. Over time, grips can wear down, lose tackiness, or become slick, which can impact your swing and overall game. In this guide, we will explore how to change golf club grips, the necessary tools, and provide a step-by-step process to ensure your clubs perform at their best.
Why Change Golf Club Grips?
There are several reasons why you might need to change your golf club grips:
- Wear and Tear: Regular use can lead to deterioration. Grips can become worn, cracked, or discolored.
- Comfort: A comfortable grip helps you maintain control and feel during your swing. If your grips feel slippery or hard, it may be time for a change.
- Performance: Old grips can affect your swing mechanics. A fresh grip provides better traction and feedback, allowing for improved performance.
- Personal Preference: You may want to try different grip sizes or materials to find what feels best for your game.
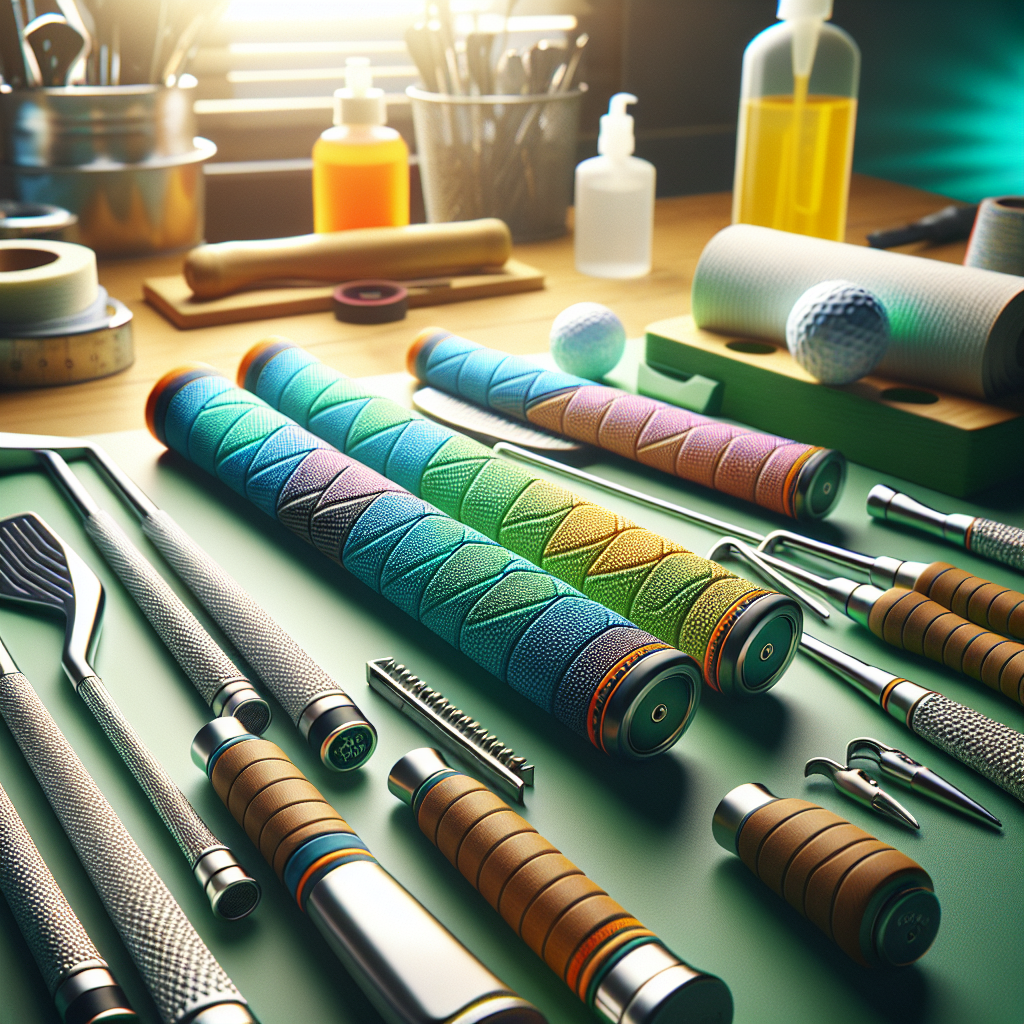
Tools Needed for Changing Golf Club Grips
Before diving into the process of how to change golf club grips, make sure you have the following tools handy:
- New Grips: Choose grips that suit your playing style and comfort.
- Grip Tape: This double-sided tape is essential for securing the new grips.
- Utility Knife: For removing old grips and cutting tape.
- Solvent: A grip solvent or mineral spirits helps to slide the new grips onto the shaft easily.
- Vice or Clamp: A sturdy grip can make the process easier, especially for removing old grips.
- Ruler or Measuring Tape: To ensure proper length for the grip tape.
How to Change Golf Club Grips: Step-by-Step Guide
Changing your golf club grips might seem daunting, but it can be done in a few simple steps. Follow this guide to learn how to change golf club grips effectively.
Step 1: Remove Old Grips
- Secure the Club: Use a vice or clamp to hold the golf club securely. Make sure it’s stable to avoid any accidents.
- Cut the Old Grip: Carefully use a utility knife to cut the old grip lengthwise. Make sure not to damage the shaft underneath.
- Peel Off the Grip: After cutting, peel off the grip from the shaft. Remove any adhesive residue left behind.
Step 2: Prepare the Shaft
- Clean the Shaft: Use a cloth to wipe down the shaft and remove any dirt or leftover adhesive.
- Measure for Tape: Measure the length of the area where the grip will sit. Cut a piece of grip tape accordingly.
Step 3: Apply New Grip Tape
- Wrap the Tape: Starting at the end of the shaft, wrap the grip tape around the area where the grip will be installed. Overlap slightly for better adhesion.
- Peel Off the Backing: Once the tape is in place, peel off the protective backing to expose the sticky side.
Step 4: Install New Grips
- Apply Solvent: Pour some grip solvent onto the tape and also inside the new grip. This will make it easier to slide the grip onto the shaft.
- Position the Grip: Align the grip with the shaft and push it onto the tape. Twist it slightly to ensure it’s seated correctly.
- Allow to Dry: Let the grip sit for a few hours to allow the tape to adhere properly.
Tips for Choosing the Right Golf Club Grips
When learning how to change golf club grips, you must also consider which grips to choose. Here are some tips:
- Size: Grips come in various sizes (standard, midsize, oversize). Choose based on your hand size and comfort.
- Material: Rubber, corded, and composite options are available. Corded grips provide more traction but may be rougher on the hands.
- Style: Different textures and patterns can affect your feel and control. Test a few options before making a decision.
How to Change Golf Club Grips for Different Types of Clubs
Understanding how to change grips on various types of clubs will ensure that every club in your bag feels great.
Changing Grips on Irons
- Follow the same steps as outlined above.
- Consider the Swing Weight: When changing grips on irons, be aware that grip weight can affect swing weight. Lighter grips may require adjustments.
Changing Grips on Woods
- Use the same process, but ensure you have grips designed specifically for woods, as they may differ in size.
- Check for Compatibility: Make sure that the grip fits the size of the wood shaft.
Maintenance Tips for Golf Club Grips
To prolong the life of your new grips, follow these maintenance tips:
- Clean Regularly: Use mild soap and water to clean grips and remove dirt and oils.
- Dry Thoroughly: Always dry grips completely after cleaning to prevent deterioration.
- Store Properly: Keep your clubs in a cool, dry place to avoid damage to grips.
Frequently Asked Questions about Changing Golf Club Grips
- How often should I change my golf club grips?
– It’s recommended to change grips every 40 rounds or once a year, depending on frequency of play.
- Can I change golf club grips myself?
– Yes! With the right tools and a bit of patience, you can easily change your grips at home.
- Do I need special tools to change grips?
– While not mandatory, having a utility knife, grip tape, and solvent makes the process easier.
- What type of grip should I use for my clubs?
– Choose grips based on your hand size, swing style, and personal comfort preferences.
- How do I know if my grips are worn out?
– Look for signs of wear such as cracks, loss of tackiness, or discoloration.
- Can I use any grip tape for golf clubs?
– It’s best to use double-sided grip tape specifically designed for golf clubs for optimal results.
Changing your golf club grips is a straightforward process that can greatly enhance your performance on the course. By following the steps outlined above, you can ensure your clubs are equipped with the best grips for your game. Remember to maintain your grips to keep them in top shape for longer!